7 Signs It’s Time to Redesign Your Website
Your website is your hardest-working employee. Here are seven clear signs it’s time for a redesign, from slow speeds and dated design to weak mobile and poor conversions.

Your website is your hardest-working employee. Here are seven clear signs it’s time for a redesign, from slow speeds and dated design to weak mobile and poor conversions.

WordPress, Squarespace, or Wix? An honest 2026 comparison covering ease of use, design, SEO, long-term cost, and ownership to help you pick the right platform.

You don’t own your social media, but you do own your website. Here’s why every author needs one, what to include, and why your email list matters most.

A great financial advisor website does three jobs: build trust, respect compliance, and turn visitors into booked consultations. Here’s how to get all three right.

Your website is your law firm’s new front door. Here are the 10 must-haves every attorney website needs in 2026 to build trust and turn visitors into clients.

ADA website lawsuits hit record numbers in 2025. Learn the accessibility standard you need to meet, the most common failures, and how NC businesses can reduce their risk.

Real 2026 pricing for small business websites in the Triangle, including cost ranges, what drives the price up or down, and ongoing costs after launch.
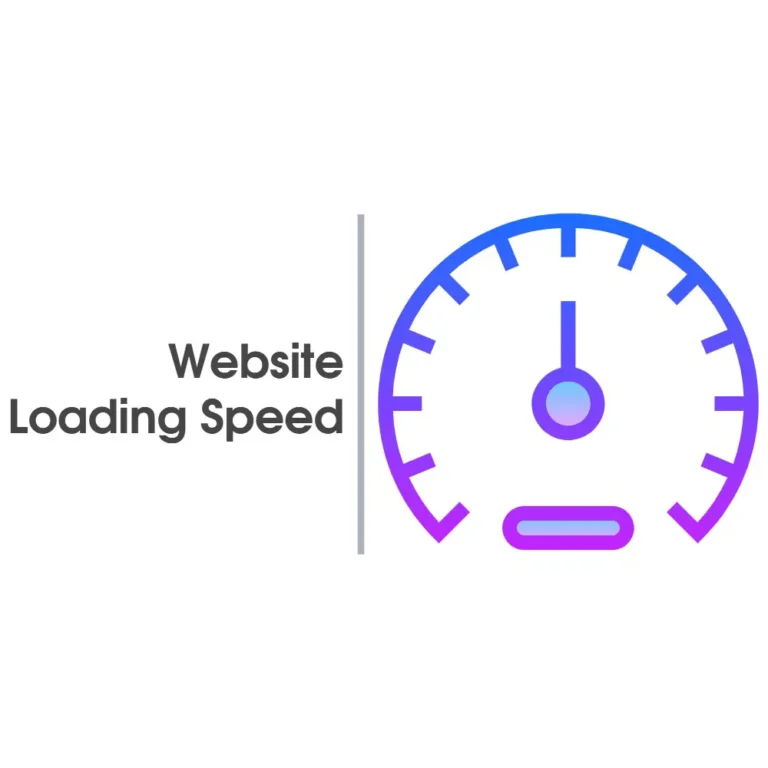
Imagine you click on a website, and it takes more than three seconds to display. You might wait, but many users won’t. In fact:…

My wife, Kate Bowler, and I have been adapting to the COVID-19 protocols like everyone else, and being part of the Christian community…
Here’s a quick “how to” video showing you the basic concepts (below the video are step by step instructions). Creating and updating a WordPress…